

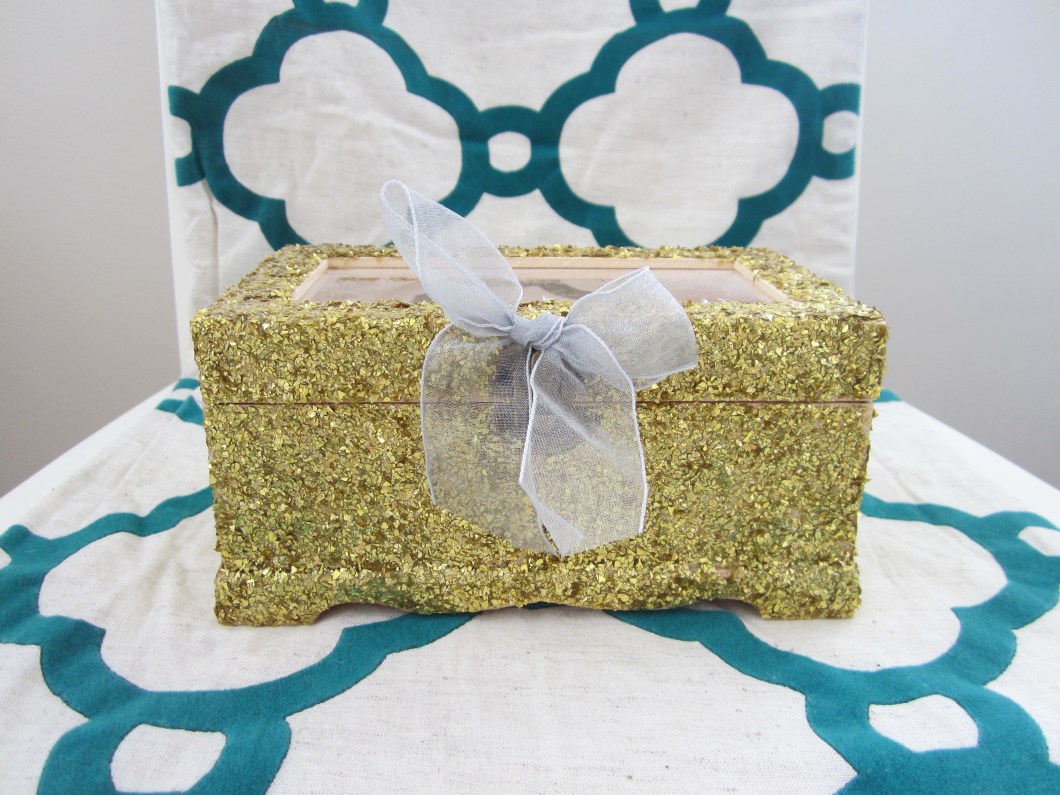
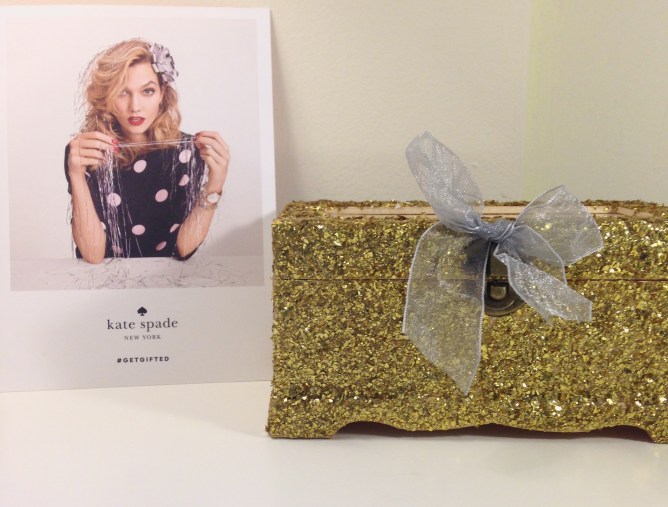
As Kate Spade says, “She who leaves a trail of glitter is not ever forgotten.” This DIY piece is inspired by Kate Spade’s holiday collection, and is the perfect glittering addition to any desk, dresser, or vanity. It can be used as makeup storage, a jewelry box, stationery supply storage, or even as a mini bank! Fill it with candies…chocolates…trinkets…cards. It is such a cute, creative, and thoughtful gift idea! With glitter, anything is possible.
What you’ll need:
- A Wooden Box (you can find these at your local craft store or dollar store)
- Newspapers (to cover the surface you are working on)
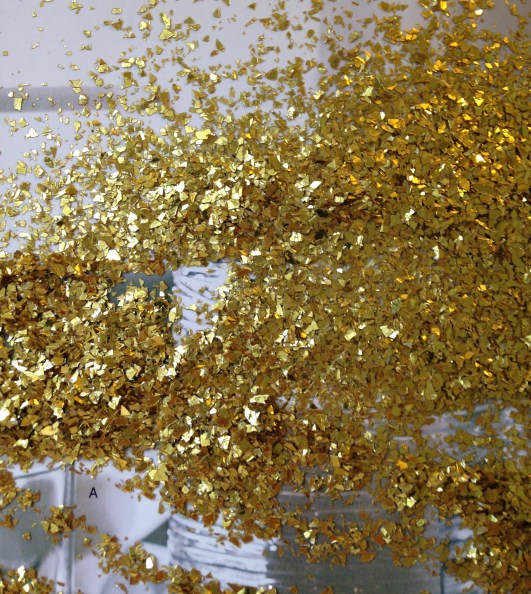
- Gold Glitter (I used bigger glitter pieces, to make it look like flakes of gold)
- Ribbon Bow (I used a metallic silver one)
- Liquid/School Glue (That dries translucent)
- Foam Brush
- Hot Glue Gun or Super Glue
- Matte Varnish/Finish/Mod Podge* (To seal the glitter into place and prevent flaking)
- *Alternatively, you can mix liquid glue with water to create a sealer, but I would recommend a small bottle of varnish from the craft store
Lets get started!
Step 1:
Cover the surface you are working on with newspapers or flyers so that you don’t end up with a glittery mess! (Although, a glittery mess doesn’t sound too bad…)
The trick to making this box look nice and evenly glittered is patience and paying attention to detail.
Start by covering one side of your wooden box with liquid school glue with a foam brush. Apply it evenly and smoothly.
Step 2:
Time to glitter it up! Pour your glitter all over the glued surface. It is best to pour excess amounts of glitter over the glued surface to cover the box evenly, because you can always easily pour the excess back into the glitter container since it will fall onto your newspapers/flyers.
Step 3:
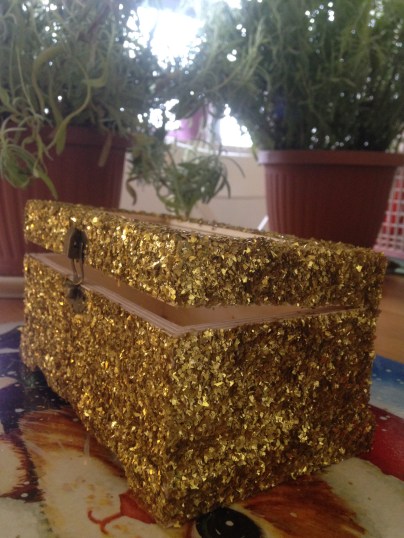
Gently pat the glitter down with your fingers to make sure it sticks to the surface. Wait for the glittered side to dry a little bit before turing it over to complete the next side.
Step 4:
Repeat steps 2-3 on all sides of the box. You will have to rinse your hands, as well as the foam brush a few times throughout this process.
Step 5:
Wait for your box to dry until repeating the glitter process again (if needed) to glitter up spots you may have missed, or to create a thicker layer of glitter. Once you have reached the desired glitter look for your box, wait for it to dry completely.
Step 6:
Once your box has completely dried, it’s time to seal it up and varnish! Rinse and dry your foam brush before you begin. Choose which side you are going to start on. Apply drops of varnish or finish or glue mix (whatever you choose) all over one side of your box. Make sure you are using enough varnish to cover the entire side evenly.
Step 7:
Wait until the varnished side is almost completely dried up to continue varnishing the other sides.
Step 8:
Repeat steps 6 and 7 on all sides of your box until you achieve the desired finish on your glitter box, or until glitter is no longer flaking off your box! (It is normal for a few bits to fall off here and there even after you are done.)
Step 9:
Time to put the cherry on top! (I mean, the bow…) Apply a small drop of hot glue (or super glue) to the back of your bow, and to the surface of your box where you are going to put your bow. I put mine just above the metal clasp on the box.
Step 10:
Place your bow on the box…press it down…and Voilà! You now have a Kate Spade inspired glittery box! Enjoy!
Please comment below if you have made your own glitter box, or send me an email with photos of your boxes! I would love to see how they turned out!
All the best,
– Ema
